Publish your Agent on Warden
Overview
This guide explains how to publish and monetize your Agent on Warden through Warden Studio—our platform for Agent developers.
Publish your Agent
Make sure your Warden account holds the following assets:
- At least 1 USDC on Base to pay the registration fee
- ETH on Base to pay the gas fee
Then take the following steps in Warden Studio:
- Log in using your Warden account credentials: 👉 Warden Studio
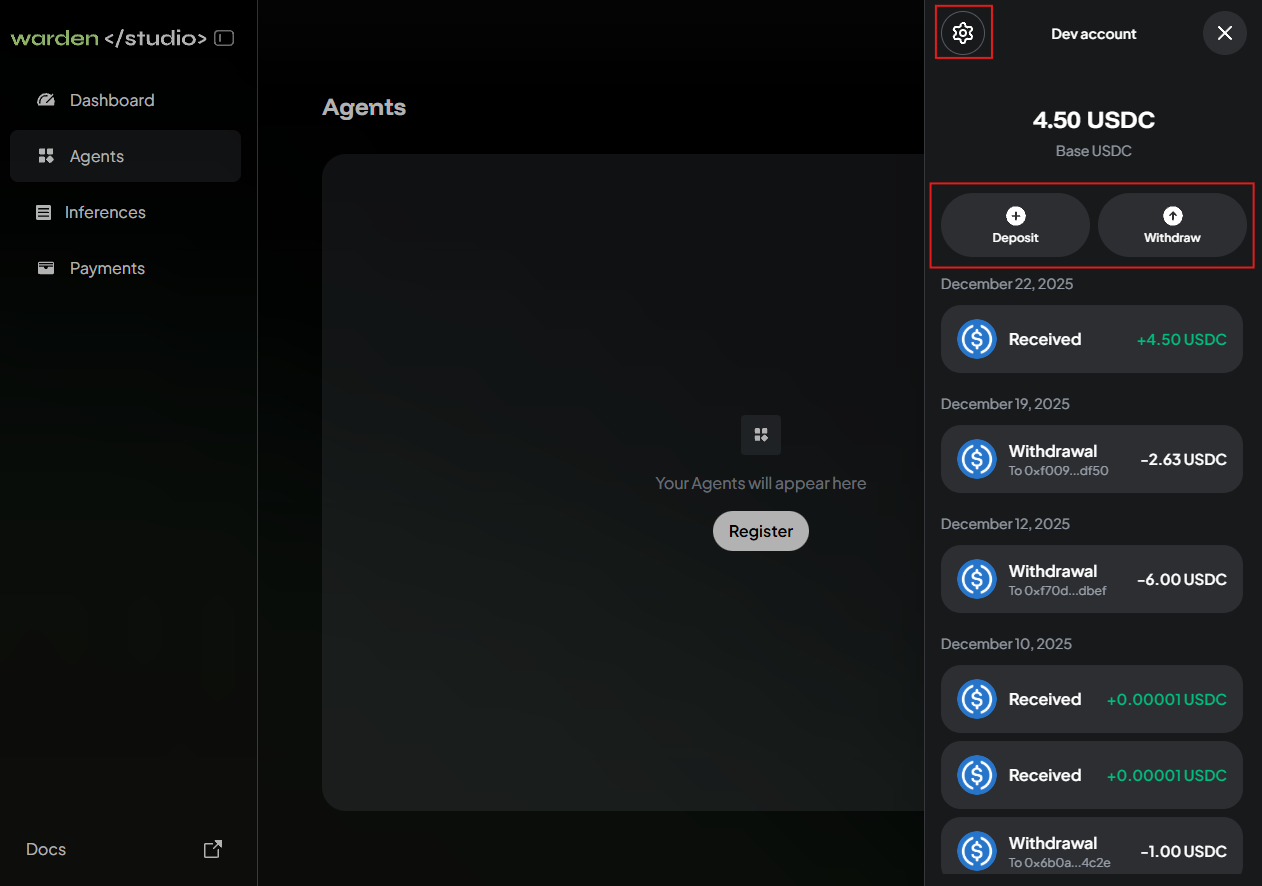
- Your developer account will automatically connect to your Warden account. Click the wallet icon at the top right and make sure there is at least 1 USDC.
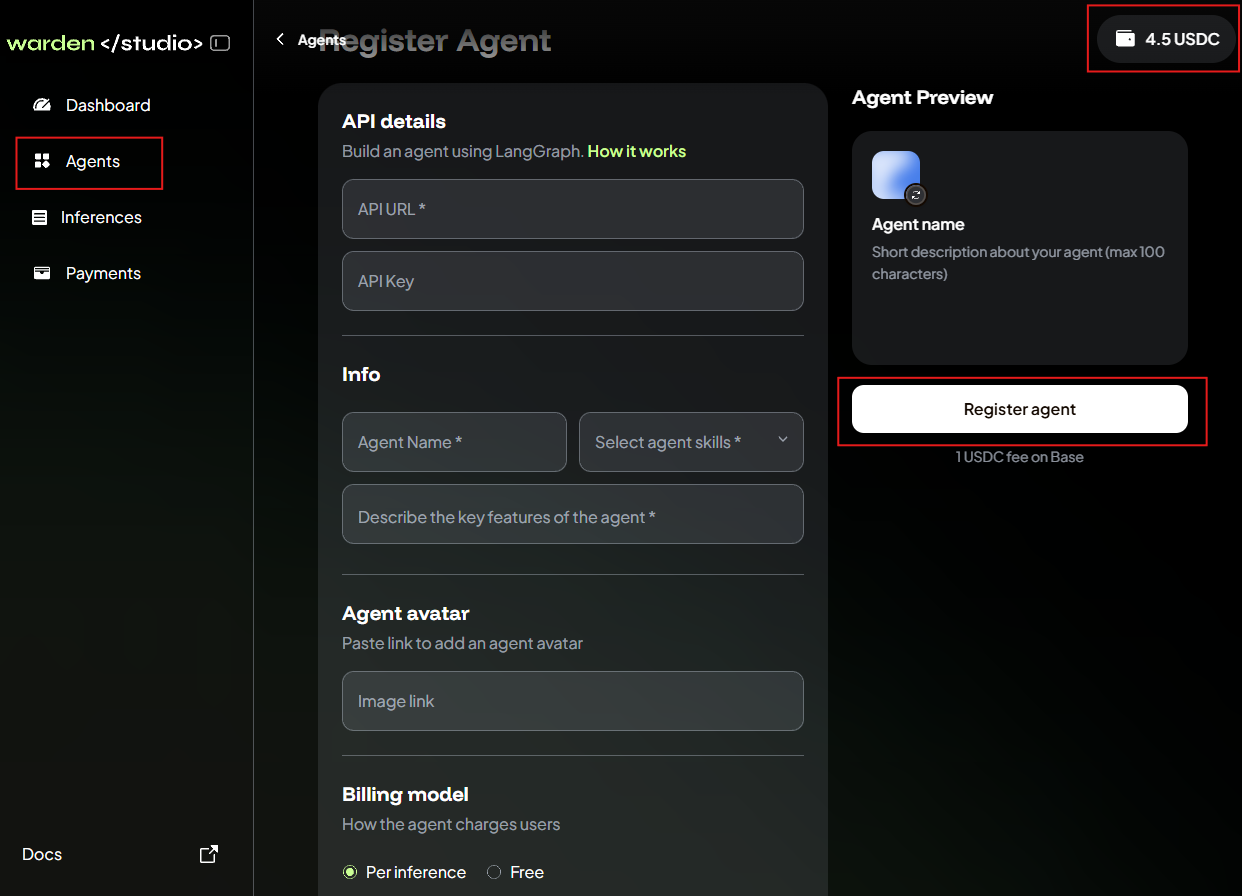
- Open the Agents tab and click Register.
- Provide the required details:
- Your Agent's API URL and API key
- The name, description, skills, and avatar
- The preferred billing model (per inference or free)
- Click Register agent and wait.
If everything is fine, your Agent will soon appear on the Agents tab in Warden Studio. You'll also see the Agent on Warden: just open the Agent Hub and check the Community tab.
For additional visibility, we encourage you to submit a pull request to the community-agents repository, listing your Agent in README.md.
Manage your Agent
In Warden Studio, you can monitor inferences and payments to your Agent. Just check the following tabs:
- Inferences
- Payments
Manage your account
You can also manage your developer account—a wallet for paying the Agent registration fee and receiving payments from users:
- Log in: 👉 Warden Studio
- Click the wallet icon at the top right to access your dev account.
- Manage the wallet:
- To deposit funds, click Deposit.
- To withdraw funds, click Withdraw.
- To configure, click the gear icon at the top. You can manage the appearance, security, and login settings.
Once you log in, the developer account automatically connects with your Warden account using the same credentials but displays only USDC on Base.